Friday, December 30, 2011

1 cm and Waiting

Well, my visit to the doctor yesterday revealed that I am already a centimeter dilated (and about 50% effaced), which means that I could either go into labor soon, or not soon at all! But either way, it's a sign that my pregnancy is progressing and that I won't be lugging this hefty baby around forever. It's really made everything a lot more real, and I find myself trying to memorize every kick and every little thing about being pregnant, while at the same time probably over glorifying the amazing feeling of being able to lay on one's belly and get off the couch without looking like a beached whale.


So now it's just the waiting game. And of course my nesting instinct being plunged into over drive. Yesterday I made my doting hubby rearrange the living room for me. Adrianne now has a cozy little nook which she has turned into a princess fortress and I have a renewed sense of inner peace. I feel like I updated my feng shui. We're now on version 4.0 of our living room layout.

Also while I wait, I have begun work on a pretty impressive Quiet Book PDF Pattern, if I may say so myself. I was so happy with the way Adrianne's Quiet Book turned out that I decided I should make a nice printable pattern of it for my Etsy shop. I'm trying to actually make it comprehensive and pretty looking, so far as PDF patterns go. I was surprised by the lack of classic Quiet Book patterns on Etsy, so I think I'll actually be doing a good thing.

Other than that, things are pretty peaceful over here. Now that the semester is over and I no longer have to worry about homework (for a while at least) and the holiday craze has subsided, life actually feels kind of relaxed. I have nothing pressuring me, just the imminence of the new baby to excite and inspire.

Besides the aches and pains, I am enjoying a wonderful ending to my pregnancy and look forward to an exciting new beginning!

Tuesday, December 27, 2011

How To Make A Page Corner Bookmark: Paper Edition!


So I've already made a tutorial for a quick and easy fabric page corner bookmark (which I just adore all of the sudden!) here. But if you've got some pretty scrapbooking paper lying around or if you just aren't a huge fan of sewing, here is a quick and easy paper version of this great craft!

YOU WILL NEED:

  • Paper or cardstock (in two different colors/patterns if desired)
  • Ribbon/tassel if desired
  • Glue
  • Scissors

STEP ONE:

Download and print this template, then cut it out along the outer solid lines. Re-size as desired before printing.

STEP TWO:


Use the template to cut the shape out of your primary pattern of paper. Then snip the little triangles off of the template along the lines for a new square template and cut out a square of a secondary color (or the same color if you choose).


You should be left with this!

STEP THREE:


If you feel like adding a ribbon or a tassel to the corner, do so now by gluing it to the inside of the paper right at the corner between the two wings.

STEP FOUR:


With the tassel now glued down, go ahead and apply glue to the rest of the square portion of the same side of the paper as shown.

STEP FIVE:


Apply the square piece of paper with the colored side facing up, over top of the tassel as well.

STEP SIX:


Fold down one of the wings so that the corner lines up with the far corner of the square piece. Don't glue down this flap.

STEP SEVEN:


Apply glue to the top/colored side of this wing.

STEP EIGHT:


Now fold down the remaining flap to glue it in place. It's okay if some of the under flap is showing. If it bothers you, you can trim it away until it is even with the top flap and no longer visible.

Now you can add any fancy embellishments to the front of it that you want! I like to add ribbons and little things like that, but you can do anything you want!


Then slip it on the corner of a book page and enjoy your new bookmark! You made it yourself! Good job!

36 Weeks

Well, we're exactly 36 weeks along now and I am proud to say we've made it through the holidays alive. The baby feels so huge that sometimes I feel like we won't be able to make it til the last week! Even most of my maternity clothes barely fit me anymore. I find myself wondering..."Was Adrianne this big feeling?" Of course, I'm sure she was but I keep telling myself "no way!"

I'm measuring perfectly, so at least I know I don't have a super baby cooking in there. But it has been difficult getting around for me these days just because my belly has been so heavy. I can feel things pulling and tugging that weren't with my last pregnancy. I am kind of surprised to find myself having more trouble this time around. I expected this pregnancy would be so much easier, since it's the second.

Despite all of the discomforts, though, I am enjoying this pregnancy to the fullest. It's been a roller coaster, but I am enjoying the feeling of growing new life for what we are planning on being the last time.

I can't wait to meet Baby Rowan, as we call him! We got lots of cute baby boy clothes this Christmas, so let's hope that sonogram doesn't fail us and we indeed meet a bouncing baby boy this month. If not, that's still okay because we've got all of Adrianne's pretty clothes left over and Rowan is another boy/girl name. So we're sticking to that!

Anyways, speaking of Adrianne...The little prodigy child continues to impress with her imagination skills, which have been really showing the past couple of weeks.

Check it out! To the right is a picture of Adrianne's diner! There is the kitchen we got her for Christmas along with a little princess table set she got from her great-grandma. She set the table and sat her babies down to feed them the felt food Mommy made her.

Since she got her kitchen stuff, she has been making me sit down at her table in those dinky little chairs, which I definitely cannot fit on, and then she feeds me! She even "cuts" the food and spoons it over to my mouth! This is all after she cooks it on the stove, of course.

It's amazing! She is only 18 months old. I'm telling you, she's a genius...

Sunday, December 25, 2011

Merry Christmas to all!


It's funny how every year it seems like I find myself saying, "This was the best Christmas yet!" There is no denying that we had a great year this year, and a wonderful holiday filled with laughter and cheer. Adrianne has been an angel in the truest sense of the word, sans the wings. I've never met a sweeter girl, so polite and loving and beautiful. You'll never see a prouder mommy than me!

We were just bombarded with mountains of amazing gifts. But I think the best gift of all was the feeling I got seeing everyone's happy faces as they opened the gifts that I made for them. Well, okay, a lot of the gifts we got were even better than that...But still! It has been a wonderful Christmas! So much love and generosity!

I hope you all have had a great holiday so far as well! And many more to come!!!

Wednesday, December 21, 2011

Holiday Spirit


I finally have all the major wrapping done over here! All the gifts are under the tree, looking festive, waiting to be hauled away on Christmas Eve. I even got the stuffed animals all wrapped up in some makeshift, lumpy packaging tied off at the ends with string.


Speaking of my stuffed animals, I was so proud of my creations that I had to group them all up and photograph them to show off to you all.


Besides stuffed animals, I made some knotted headbands for the trendy teen girls of the family, inspired by the knotted headband tutorial found at You Seriously Made That?! The black headband was inspired more by the nautical headband tutorial from the same blog.


I also made a jersey infinity scarf, inspired by the DIY Dish. The black jersey flower I also made and I'll hopefully get around to making a tutorial for that, myself!


Finally, for some, I made these cute little page corner bookmarks, which I love lately. My tutorial for a fabric one can be found here, but I am also working on a How-To for these paper ones with a downloadable printable template. They're so easy to make and infinite in possibility.

But, anyways! Now that I'm done showing off...I wanted to talk about something kind of important this time of year.

I have been trying to remember to hold on to the holiday spirit, which proves to be quite difficult considering the high demands of the season. But we have to try to remember that the holiday season is not about looks, or money, or anything like that. It's supposed to be about compassion, generosity, thankfulness...

The other day I was talking to a neighbor who remarked that she couldn't wait for Christmas to be over. I couldn't help but wonder how it got to be like that with so many people these days. How could anyone feel that way if the holidays were really still just about the love and togetherness? Even Ebenezer Scrooge couldn't resist it in the end.

So when I start to feel like a Grinch thinking about how I have three house parties to get to this Christmas Eve, none of which I will have time to satisfy anyone with Adrianne's presence nor eat anything but a handful of pretzels, and the fact that I'm so pregnant I feel like I could more easily break the couch than get off it and yet I still have to try and travel back and forth like a mad woman because none of our stops are closer than a half hour drive apart...and why did I decide I wanted to make all of my Christmas gifts this year? Will I even finish in time? And did my editing software really just tell me that it is unable to publish my home video - a years worth a footage compacted into 45 minutes - after I had worked on it excessively for a month straight?!

Yeah...when I start to feel like a Grinch thinking about stuff like that...I stop, take a deep breath, and try to invoke that holiday spirit I was talking about. It's easier than it sounds, really. I just try to imagine the look on Michael and Adrianne's faces when they open the amazing gifts I got them this year. I imagine how many memories will be created with Adrianne (and soon Rowan) when it finally decides to snow around here. I recall the jovial feeling of being surrounded by friends and loved ones, all of us buried in wrapping paper, crowded into a single tiny room opening presents. I think of a lot of things that make me feel all warm and fuzzy inside.


Watching this little girl have so much fun on a daily basis while learning and growing so fast also helps me to get into the holiday spirit. I can't get over how much she advances in the span of a single day. It's too much, I tell you...

Happy Holidays everyone!

Saturday, December 17, 2011

Pin Fix {v.2}

I've been kind of obsessing over a few themes lately. Here are some of my recent pins!


I'm not a huge fan of a lot of the dumb wreaths you see a lot of on Pinterest. But in an effort to find inspiration for a wreath type that I would like to hang on my door during the non-holiday season, I stumbled upon this beautiful DIY!


I've also kind of been obsessed with felt lately. "Kind of" might be a major understatement! It's just so cute, versatile and easy to work with! This pretty little thing has inspired me to go for beautiful with my leftover felt, and not just cute. I would love to specialize in felt for my Etsy shop. I feel like I could share some wonderful things with the world that way!


Speaking of felt, this pillow is simple and elegant and totally my style! I could so make this, and I think I'm going to try!


I also want to try and remember this little gem. I was trying to figure out a unique and sightly way I could maybe hang a bunch of hand print ornaments to show the progression of growth for Adrianne (and soon Rowan) each year. But those clay things are kind bulky and cliche. This stool idea is really great though! Hooray for inspiration!


Speaking of the little ones, I also fell hard and fast for this adorable tooth fairy note. I have been thinking a lot lately about how to handle the mythological beings issue, since Santa Claus is on the brain these days. Initially, before Adrianne was born, I was of the mindset that I absolutely did NOT want to do the Santa thing and do that whole traumatizing lie that hurts to find out the truth about. But I think there must be a way to incorporate the archetypes in a way that isn't a lie, but still allows for wonderful, magical imagination. I'm sure it'll be something to just feel out when the time comes.


Last but not least, I've been all about T-Shirt re-purposing lately. That's when I discovered this little beauty of a DIY. I think I've got to try it! Well, someday at least...

Friday, December 16, 2011

Tis The Season!


Packages have been arriving for the very few things that I decided not to make on my own this holiday season, providing days worth of fun for Adrianne. As you can see, she has learned of the joys of playing in a box full of Styrofoam popcorn and has given me ample free time to get a bit of gift wrapping and even more sewing done!

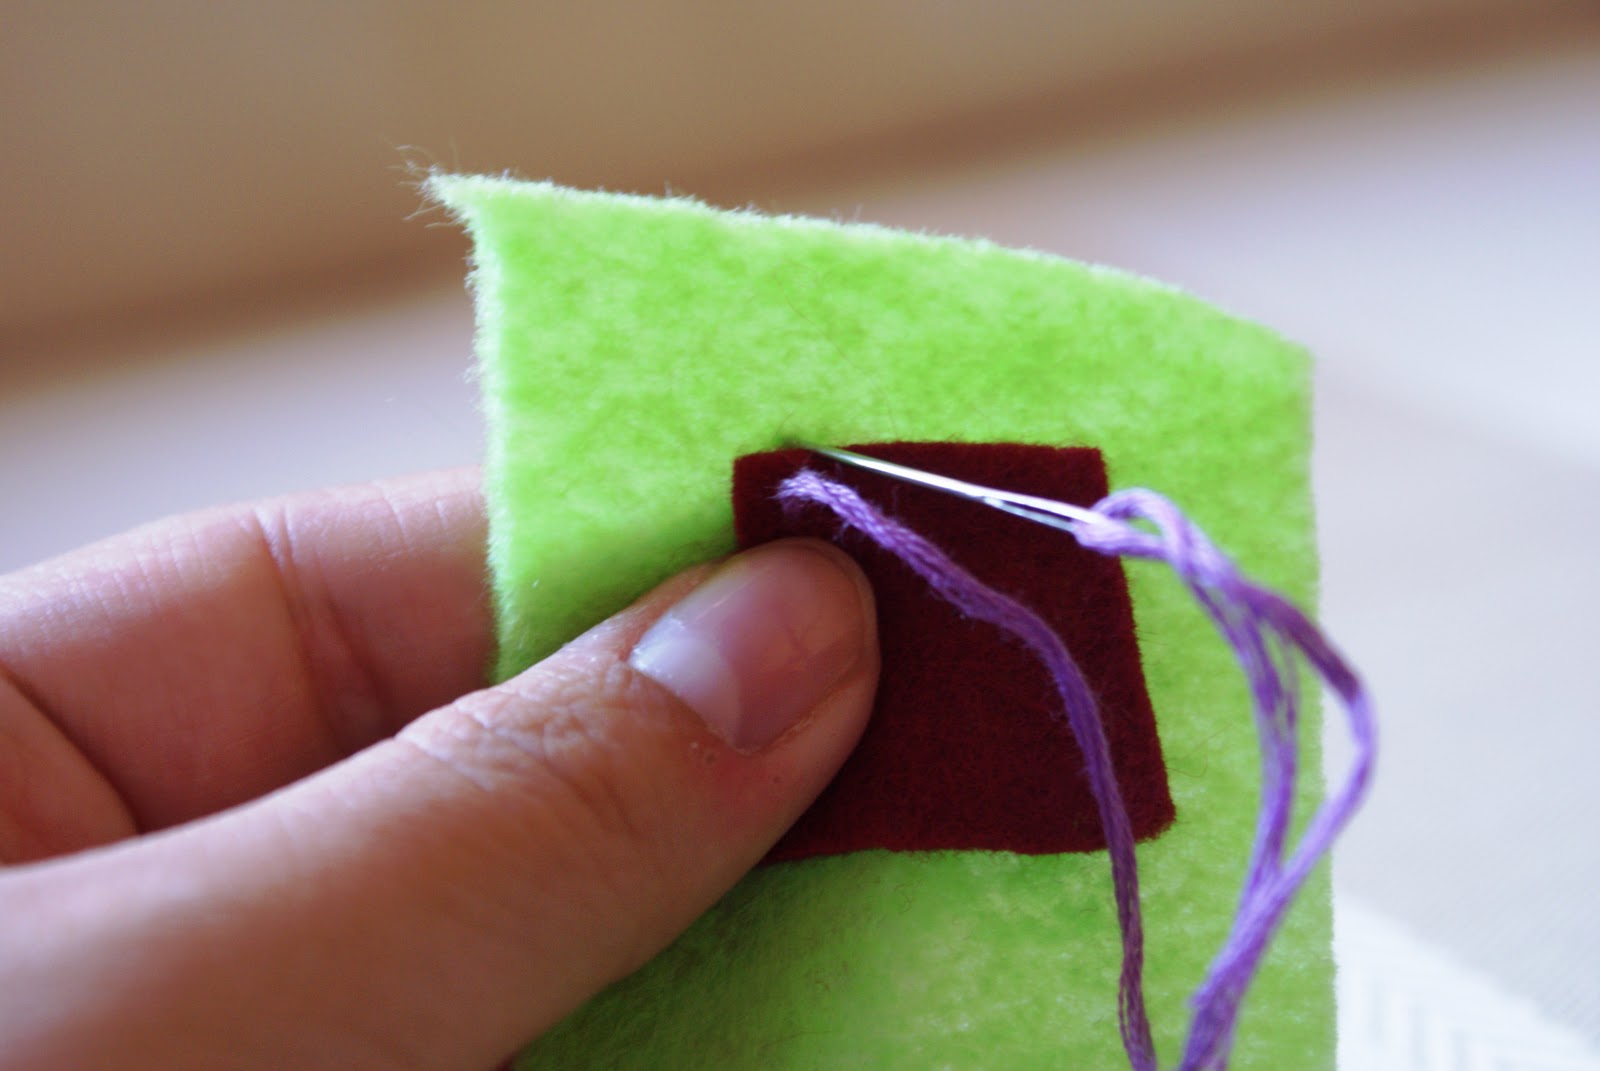
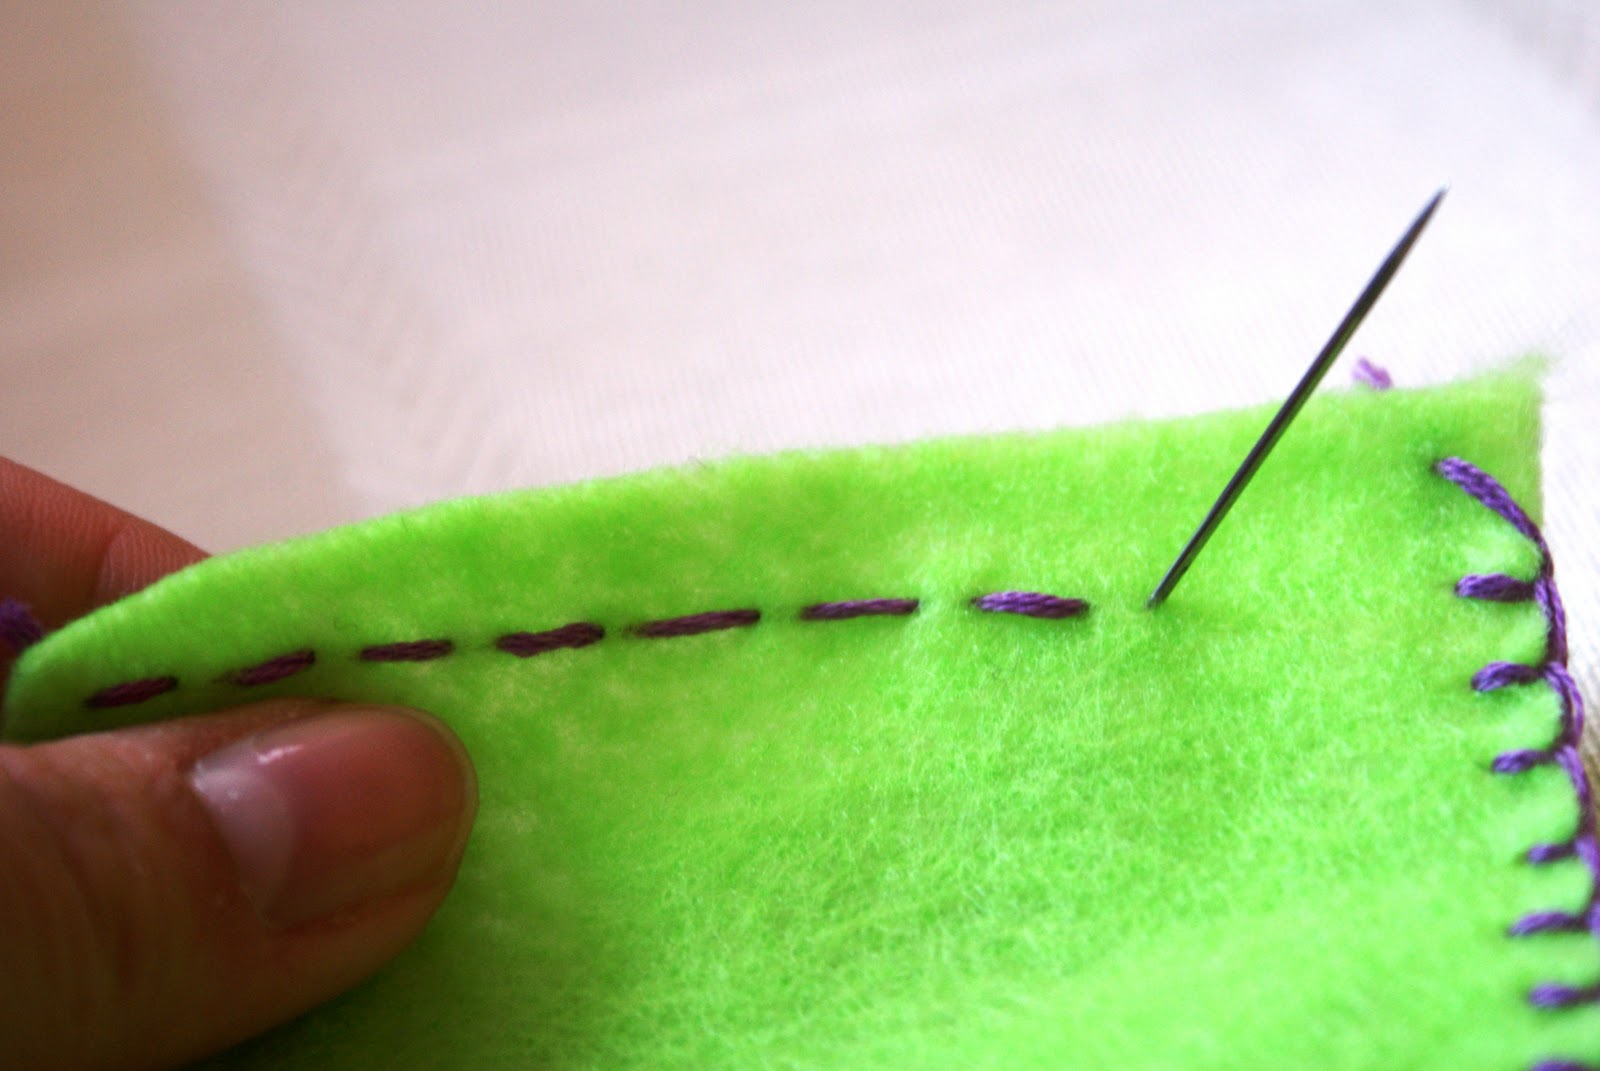
It's so nice to be able to sit on the floor with her, laughing and playing, while also feeling like I'm getting a lot of productive things done simultaneously. Although, I have found lately that there are actually a great number of things I can do for myself while also sitting and interacting with her in a way that keeps her happy. No need to stress out over the fact that nap time is the only time I can get things done! I can easily hand-sew stuffed animals or wrap presents while building block towers. Everyone wins!

She never ceases to amaze me with how intelligent she is. She is already so witty and so funny! Some of the words she has been saying, starting just this past week, are:

"Bah" - pretty much anything that starts with "B" comes out as "bah." For instance, "bed," "ball," "block," "BOO!"

"Cah" - this one she uses to say "car." If she hears or sees a car, she says "cah" and this includes tractors and her little toy car that she still only knows how to go backwards on.

"Ca-ca" - I have always referred to gross/dirty things as "ca-ca" to Adrianne to discourage her from touching them or eating them or whatever. Now she knows how to say it too! She will find thread on the floor from my sewing, or maybe an old sticker, and hand it to me, saying "ca-ca!" What a smarty pants! She also calls my belly button "ca-ca" for whatever reason.... Maybe because it's popping out due to my extreme pregnant-ness.

"Bish" - This is the sound that comes out for things like "push" and "buzz." She knows that bees go "bish bish" and she knows that in order to get the caps on her markers she has to "bish." It does sort of come out more like "poosh" sometimes when she is saying "push."

"Moooo" - Adrianne has gotten very good at saying "mooo" with the "ooh" sound instead of the usual "ah" sound that most of her words have. Whenever she sees a cow she says "moooo!"

"Balig" - This is one of her more common words that she uses for more complex sounds, like "please." She has sort of a mix between "p" and "b" at the moment and the only real sound combos she can do are b/p and the l sound. She has been working very hard on saying "please" because I have been trying to teach her that in order to ask for something nicely, she should use the word "please." Always the over-achiever, she has actually almost accomplished this.

"Jeesh" - This word covers a vast array of things including: cheese, juice, shoes, cheerios, cereal, Jesus, etc. This one has been in her vocabulary for quite a while now.

"Ba-ba/Pa-pa" - Like I said, Adrianne sort of has a pass between b and p sounds right now, so when she says "Papa" it sometimes sounds more like "baba" but then again, sometimes its hard to say which one it sounds more like. She has pretty much mastered "papa" and is now working on the more daunting task of pronouncing "grandma."

"Galickalickalickalicka" - This is how Adrianne tries to pronounce "stickers" and "cookies." Again, the over achiever trying to say two syllable words, Adrianne has at least figured out how to move her tongue in such a way as to get the "ck" sound following vowel-ish sound. This is my favorite, and I hope to catch it on video before she learns how to actually say "sticker."

Well, if you read through all of that, I hope you enjoyed! It's probably all for my own sake, ten years down the line, like many things I write about are!

How To Hand Sew


After posting a series of hand sewing tutorials, I feel as though a directory is necessary! So here you will find links to all of the how-to's in one convenient location.

Keep in mind that these tutorials are all based off of my own methods, which were all self-taught. I'm sure you'll be able to find several other methods of doing each of them, but these here are all my versions, which I find easiest and most effective for me. I hope that my tutorials can help you!

The How-To's :

How To Hand Sew: Tying Off


When you're all done sewing, it's important to know how to tie off your thread so that your hard work doesn't come undone. There are many, many ways of doing this, but here I will show you my favorite method.

Step One:


Start off by sliding your needle back underneath your last stitch (on the back side of your fabric, if it makes a difference). Don't go back through the fabric, just go under the thread.

Step Two:


When you pull your thread through, you will create a loop just before you pull it all the way. Slip your needle through this loop before you pull tight.

Step Three:


After slipping your needle through the loop of thread you have just created, you will notice that you have created yet another loop, which you can see in the picture. It is the bottom loop.

Step Four:


Slip your needle now through this second loop as well, before you tighten your thread.

Step Five:


NOW you can finally pull your thread tight. Be careful that it does not tangle itself while you are tightening the thread, or else you may cause your thread to knot before it is close again to the fabric.

Alternatively:

You can also pull your thread tight after Step Two (after you slip your needle through the first loop). You will then simply have to repeat the process once in order to get a secure knot. This is less complicated, but it might take an extra second or two. No big deal!

Here is a link back to the hand sewing directory if you'd like to read more: How To Hand Sew 

Monday, December 12, 2011

How to Hand Sew: Applique Stitch/Fell Stitch


The Applique Stitch, sometimes referred to as the Fell Stitch, is a great, easy stitch for attaching a piece of fabric to another surface of fabric. Here's the breakdown of how to do it.

Step One:


Starting from the back of the fabric, stick your needle through both layers and pull your thread all the way through.

Step Two:


Then, stick the needle through once more, this time above the top layer so that you are only going through the back layer of fabric. Usually, you want to go as close to the edge of the top layer of fabric as possible. But since this is typically a stitch used for looks, you do whatever you want.

Step Three:


Pull your thread tight all the way through and start over again by coming up through both layers of fabric from the back.


After you've got a few stitches in, this is what your fabric and stitches will look like (somewhat) from the back of the fabric.

Happy appliqueing!

Here is a link back to the hand sewing directory if you'd like to read more: How To Hand Sew 

How to Hand Sew: Whip Stitch


The whip stitch is a very simple stitch that I use a lot for sewing two pieces of fabric together. It's often used for hemming in the real world, but for the purposes of making cute things like stuffed animals and quiet books, this stitch is great for just sewing two things together.

It's pretty self explanatory as well, but here is the step by step.

Step One:


You'll start with your thread pulled through both layers of fabric. Simple enough.

Step Two:


Then, wrap your thread around to the back of the fabric and stick the needle through both layers.

Step Three:


Pull the needle all the way through and of course, pull the thread tight. Wrap around to the back and begin again to keep going!

And there you have it. The whip stitch. Simple, easy, basic, essential.

Here is a link back to the hand sewing directory if you'd like to read more: How To Hand Sew 

How to Hand Sew: Straight Stitch


The Straight Stitch, or running stitch as many call it, is pretty self explanatory, just by looking at the picture above. Basically, you just weave the needle in and out, making a straight line.

More often that not, this stitch is used for basting, gathering, that sort of thing. But I like to use it a lot when sewing felt to felt, for example. It's sometimes aesthetic for appliques, when I'm not in the mood for looking at an applique stitch for whatever reason.

Sometimes it's hard to get the needle to weave through the fabric like the picture shows above. Here is another way I tend to do the stitch.

Step One:


Shove the needle in one side of the fabric, and pull it tight.

Step Two:


Then shove it back through the other way, and pull it tight again.

Easy as that! The thing with the needle weaving technique is that it gives a very straight line of thread. It's all about preference here, really.

Happy straight stitching!

Here is a link back to the hand sewing directory if you'd like to read more: How To Hand Sew 

How to Hand Sew: Blanket Stitch


This decorative stitch may seem daunting at first, but you'll be a pro in no time once you know the mechanics of the stitch. You may even be able to figure out exactly how to do the stitch just by looking at the intro photo above! But if not, here is the step by step.

Step One:


Pull your thread through from the back of your fabric. If I am blanket stitching two pieces of fabric together, I like to pull the thread through from the back of the top layer, so that way the knot is hidden in between the two pieces of fabric.

Step Two:


Then, on the same side of the fabric that you pulled your thread out of, stick the needle in right next to the hole your thread came out of to begin with.

Step Three:


Pull the thread through, but stop before you pull it all the way. Leave a loop of thread hanging there, just like the picture shows.

Step Four:


Now, take your needle and stick it through that loop of thread you left hanging.

Step Five:


Keep pulling that needle so the thread is pulled through that loop.

Step Six:


Tighten it, and it will hold that loop of thread in place, along the edge of the fabric.

Step Seven:


We're going to repeat the process over and over and over again. The first loop didn't have that squared off look that we are going for. But never fear! This is when it starts to look pretty. Go ahead and stick that needle through the front side again.


Pull the thread through just enough to make a loop that you'll be able to swing the needle through one more time.


Once it's pulled tight, it will hold the loop in place and give you that finished edge look.


Now keep going! Eventually you may figure out that you can actually manage to pull the whole thing off in one fluid movement. I like to hold the fabric sideways so that the thread naturally starts off with a nice loop that I can just easily slide the needle through while I am tightening the thread. You can sort of see how I do that in the picture above.

Anyways...happy sewing!

Here is a link back to the hand sewing directory if you'd like to read more: How To Hand Sew
Related Posts Plugin for WordPress, Blogger...
Top Mommy Blogs - Mom Blog Directory