

((Download this tutorial in PDF format here.))
This cute book holder/notebook oragnizer/magazine container is easy to make and couldn't be cheaper. It's made of a cereal box! I've seen things similar to this in a few different places so I decided I would try making one on my own and sharing with you how I did it.
HERE'S WHAT YOU'LL NEED:
- Cereal Box (Cheerios works perfectly because the box is huge)
- Scissors
- Marker/Pen
- Glue
- Scrapbooking Paper

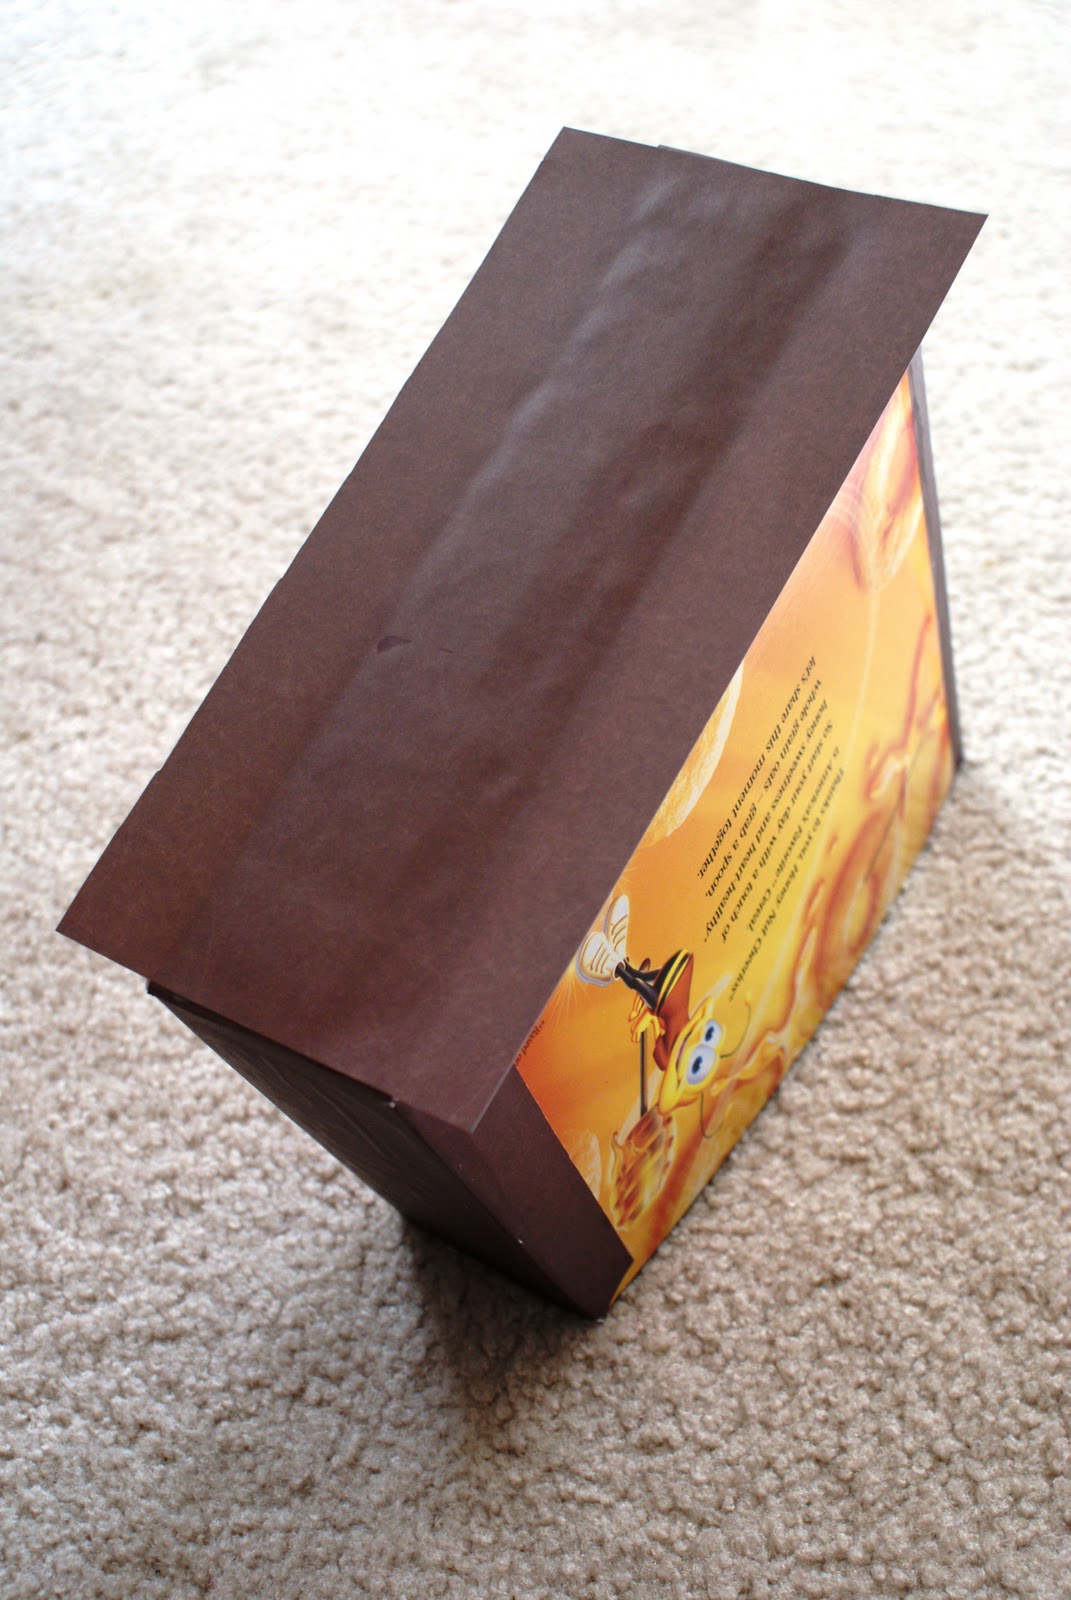
Use a straight edge to draw an outline of the shape you want on the box.

Use your scissors and cut along the lines you made to get your organizer box's shape.


Use the box as a rough template and cut out a strip of scrapbooking paper for the long side of the cereal box. Make it a little bigger on each side than the actual widths of the box so you will be able to fold it over the edges later on.

Apply glue to the long side of the box.

Glue the strip of paper to the box. If you would like, use an old credit card or even the blunt side of your scissors to flatten the paper down. Also, cover the other side as well.

Cut out the corners of the paper so that you will be able to fold the flaps down.

Glue the flaps down. For the top one, make sure it is folded tight against the top edge of the cereal box.

Glue down the side flaps as well. For this, I found it especially helpful to flatten and crease the paper using my scissors.
Cover the bottom side of the box as well, if desired. For the bottom, do not make flaps for the short sides of the box or else you will have unsightly, gluey flaps showing on the sides when you are finished.


Use your box as a template. Trace the large, flat sides of your box with the wrong side of your paper facing up. When you're done, cut it out.

Glue along the outer edges of the box. You can glue the whole surface if you want, but if you are using liquid glue, like I am, you may find that the glue makes the paper lumpy underneath.

Apply the paper and smooth it out. Again, you can use your card or your scissors to help flatten the paper where the glue was.


Embellish with whatever you want: ribbons, buttons, paint, labels. You name it! This is your custom organizer, so make it yours.


This is so Cute, A good way To Use leftover Cereal boxes. Thanks. :)
ReplyDelete