Showing posts with label organization. Show all posts

Wednesday, January 4, 2012

Free Printable To-Do List


So in my silly attempts at getting my head organized, let alone my home, I have come up with this actually handy To-Do List! I wanted something simple, useful, comprehensive, yet cute. And it had to be dry-erase-able so that I could use it over and over. Oh and I also wanted something free. 

Now I am sharing the fruits of my labor with you! What I did was I made up the List, printed it out on regular computer paper, then stuck it in a picture frame! Now I can write right on the glass and it wipes right off when I need it to (well, because I use a dry erase marker...).

So here you have it:


Simply click on the thumbnail and download it, print it out, and frame it in a document frame. OR trim the edges up a bit and slide it into an 8" x 10" frame. Enjoy!

Monday, November 7, 2011

How To Make A Notebook Organizer


((Download this tutorial in PDF format here.))

This cute book holder/notebook oragnizer/magazine container is easy to make and couldn't be cheaper. It's made of a cereal box! I've seen things similar to this in a few different places so I decided I would try making one on my own and sharing with you how I did it.

HERE'S WHAT YOU'LL NEED:

  • Cereal Box (Cheerios works perfectly because the box is huge)
  • Scissors
  • Marker/Pen
  • Glue
  • Scrapbooking Paper

STEP ONE:

Use a straight edge to draw an outline of the shape you want on the box.

 STEP TWO:

Use your scissors and cut along the lines you made to get your organizer box's shape.

This should be the result.

STEP THREE:

Use the box as a rough template and cut out a strip of scrapbooking paper for the long side of the cereal box. Make it a little bigger on each side than the actual widths of the box so you will be able to fold it over the edges later on.

STEP FOUR:

Apply glue to the long side of the box.

STEP FIVE:

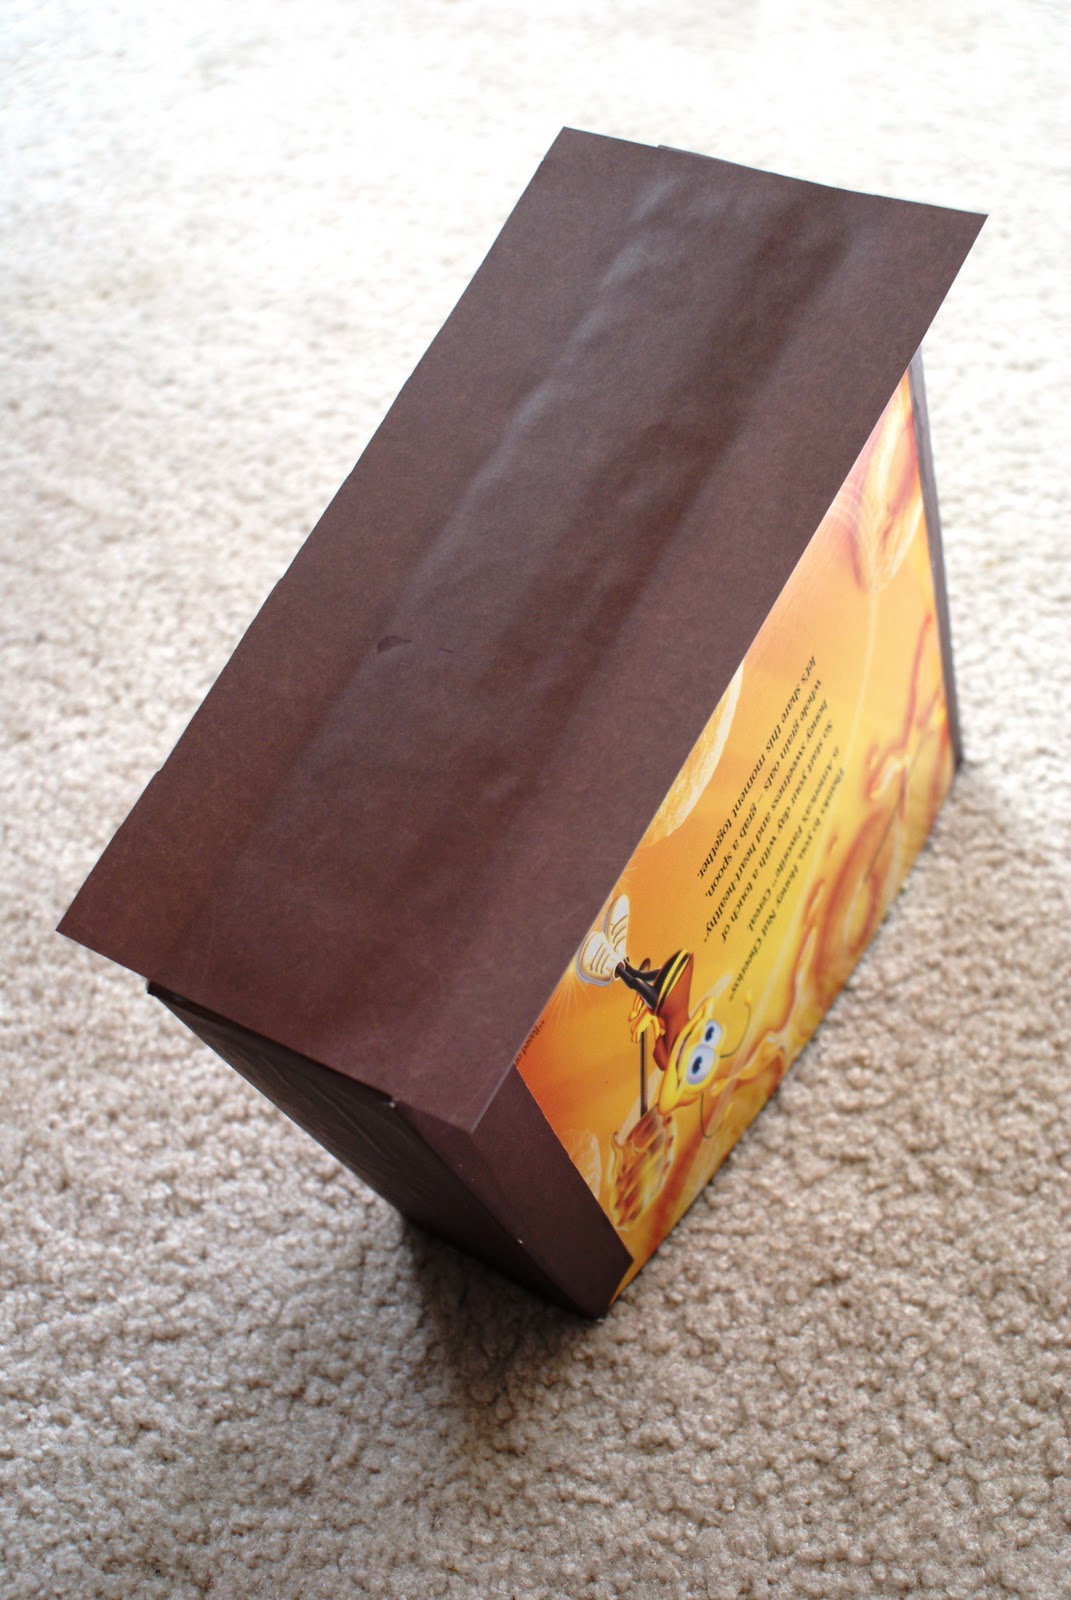
Glue the strip of paper to the box. If you would like, use an old credit card or even the blunt side of your scissors to flatten the paper down. Also, cover the other side as well.

STEP SIX:

Cut out the corners of the paper so that you will be able to fold the flaps down.

STEP SEVEN:

Glue the flaps down. For the top one, make sure it is folded tight against the top edge of the cereal box.

STEP EIGHT:

Glue down the side flaps as well. For this, I found it especially helpful to flatten and crease the paper using my scissors.

STEP NINE:

Cover the bottom side of the box as well, if desired. For the bottom, do not make flaps for the short sides of the box or else you will have unsightly, gluey flaps showing on the sides when you are finished.

When you are finished covering the sides, your box should look something like this.

STEP TEN:

Use your box as a template. Trace the large, flat sides of your box with the wrong side of your paper facing up. When you're done, cut it out.


STEP ELEVEN:

Glue along the outer edges of the box. You can glue the whole surface if you want, but if you are using liquid glue, like I am, you may find that the glue makes the paper lumpy underneath.

STEP TWELVE:

Apply the paper and smooth it out. Again, you can use your card or your scissors to help flatten the paper where the glue was.

Do both sides and you're all done! Good job!

FINAL STEP:

Embellish with whatever you want: ribbons, buttons, paint, labels. You name it! This is your custom organizer, so make it yours.

Sunday, November 6, 2011

Home Organization Tip: Jewelry Art Board


Add a little decorative kick to your home while also doing away with that tangled mess of jewelry you have lying around. Take an ordinary cork board and hang your bracelets and necklaces off of it in a pleasing arrangement. Not only is it functional, but it's also beautiful!

For a little extra flair, try painting the cork, adding a pretty fabric over top of the cork, or slapping a nice wall decal onto the cork board.

Wednesday, November 2, 2011

Home Organization Tip: Hideaway Drawer Storage

Wait! Halt! Stop right there! Don't throw away that old dresser!

Instead... reduce, reuse, recycle and get rid of that awful clutter in the meantime.

Dresser drawers make excellent storage components that slide neatly and nicely under so many convenient pieces of furniture in your home.

For example, I have a large drawer to hold all of Adrianne's baby blankets in a neat space under her crib.


When I'm all done getting out the blanket I need or putting away a few things from the laundry, it simply slides back under and the bed skirt hides it from view. That way Adrianne won't get into it and start throwing blankets all over the house.


See? Good as new!

The best part is, you can put whatever you want in the drawer and you aren't limited to just cribs and beds. If you can find a small enough drawer, you could probably even fit it under a couch or chair. Be imaginative and cater to your own organizational needs.

Typically, a drawer can slide easily enough along a carpet or rug, but if you have hard floors you want to use a drawer on, you probably don't want it scratching up the surface. No problem! Use some strips of carpet samples or an old doormat rug and attach them carpet side down to the underside of the drawer to help it slide. Another alternative is to get your hands on some simple wheels for the corners of the drawer. This will make the drawer a little taller though, so do whatever works best for your home!

Good luck!

Wednesday, October 26, 2011

Home Organization Tip: Storage Caddy

Well, I've been blessed with a tiny bathroom lacking both storage space and a medicine cabinet. All I've got is cramped leg room and a flush mounted wall mirror. So naturally I ran into some problems with bathroom organization. It seemed like no matter what I did, the bathroom always transformed into a chaotic mess of toiletries by the end of every day. Seriously, it was like we had a daily tornado running through the place.

I had to think fast. I needed something small and compact that could hold all of the junk that just didn't seem to belong in the under-the-sink cabinet. Some things you just need out and on hand. Well, for these things I made a remarkable discovery.

Shower caddies, sold in pretty much any retail store's home section, are exactly what I was looking for. They are small and compact and can hold a lot of stuff right out in the open where I need them.

Hmm...But I didn't need my caddy in the shower. The solution? A wall hook!

So with the power of these two things combined, I managed to transform THIS:


into THIS:


Here was my outcome, close up:


The reason I love my silly little shower caddy shelving unit is because it is temporary and repurpose-able. I don't intend to be living in this tiny apartment forever. So when I leave, I can take my "investment" with me. Also, as far as DIY home improvement projects go, this was cake. So here was an easy fix to my bathroom chaos conundrum. I'm sure you could use this in any other room of your house too, but I think the shower caddy fits best in the bathroom. Go ahead and splurge on some real shelves for your living room if you need them!

Well, happy organizing!

Thursday, October 20, 2011

Home Organization Tip: Clay Pot Storage


I love glazed clay pots as storage receptacles!  Here I have my big kitchen cooking utensils all tucked neatly into a medium sized clay pot meant for plants. I happen to have one of the tiniest kitchens in the world and that means not a whole lot of cabinet and drawer space. So I had to innovate. There simply wasn't any room for my big, clunky utensils!

I tried a vase but it turned out it was too narrow and also too long. My utensils would slide all the way down to the bottom and wouldn't want to come out. It was a tight squeeze. 

I got this glazed pot at the Bargain Outlet for a few dollars! It's nice and wide and shallow, meaning the utensils fit nicely inside and come out easy too. Not only does it look nice and neat, but it sure is handy when I'm cooking to have all of my utensils out and ready for me!

These clay pots are very useful, not just for kitchen utensils, but for all kinds of organizing. And like I said, I got this one at the Bargain Outlet for only a few dollars! There are all kinds of places you could go looking for some of these little guys for cheap.

Here are a few more ideas for clay pot storage to inspire you:

Remote "Control." Get a little glazed clay pot that will match your family room colors and stick all those television remotes in them. I don't know about you but remotes have a knack for getting lost in my house. I still have one that has yet to be recovered. A little clay pot can make your remotes look like part of the decor, while also keeping them contained and always at hand.

Desk Tidiness. Stick all those pens, pencils, scissors, paint brushes, whatever else you want inside a small clay pot. Again, it looks pretty and keeps it neat!

Kindlewood Container. Make a decorative display out of all those twigs you're hoarding for winter fires. Stick 'em in a large glazed clay pot!
Related Posts Plugin for WordPress, Blogger...
Top Mommy Blogs - Mom Blog Directory